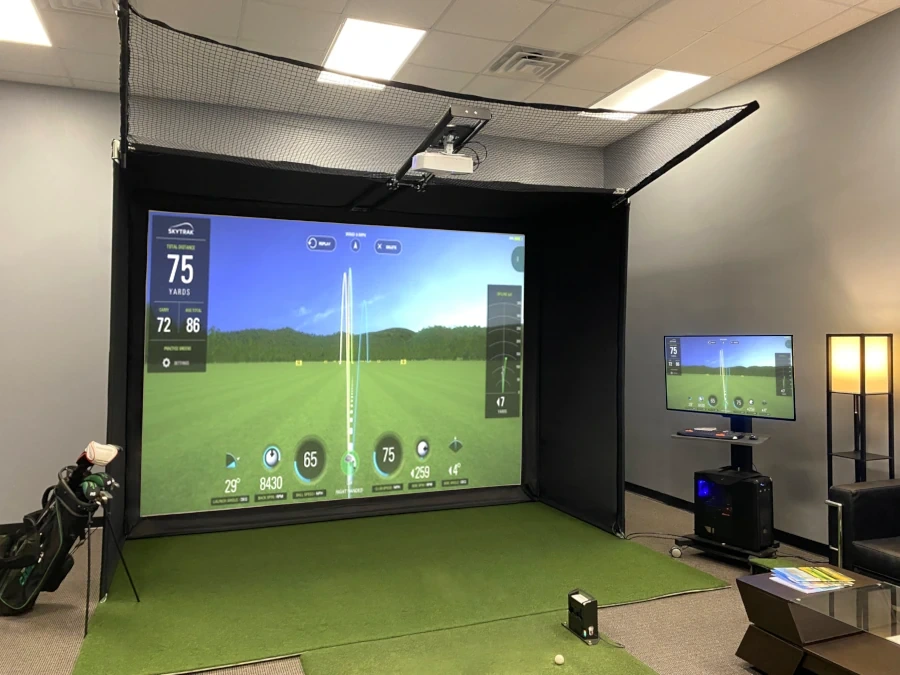
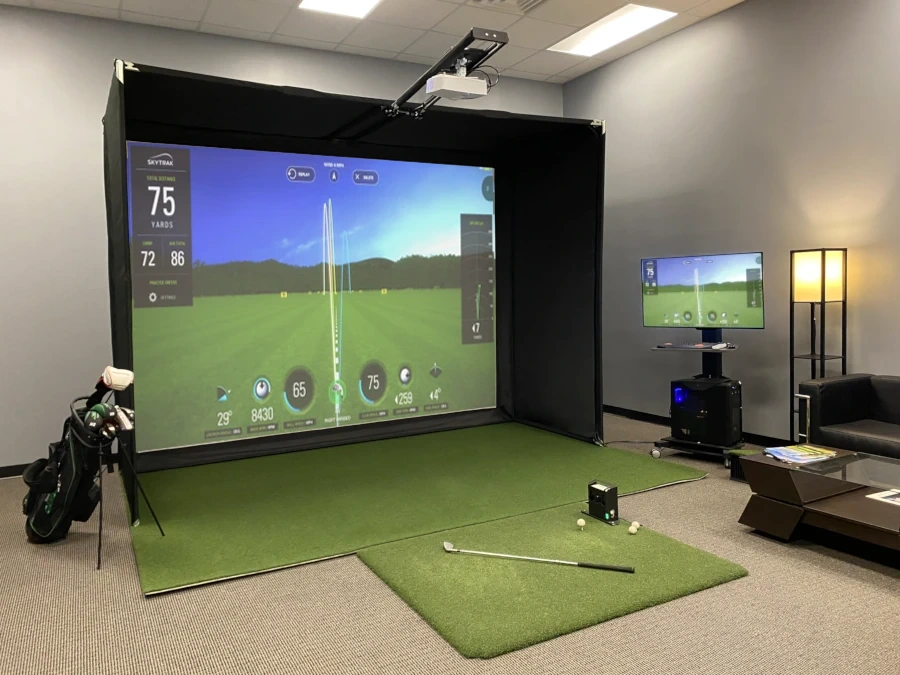
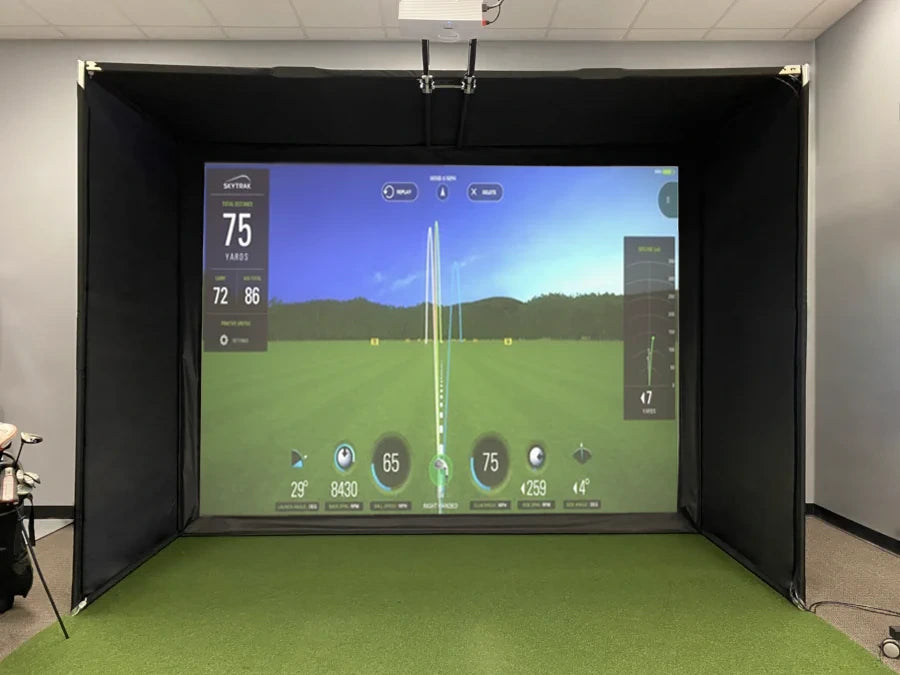
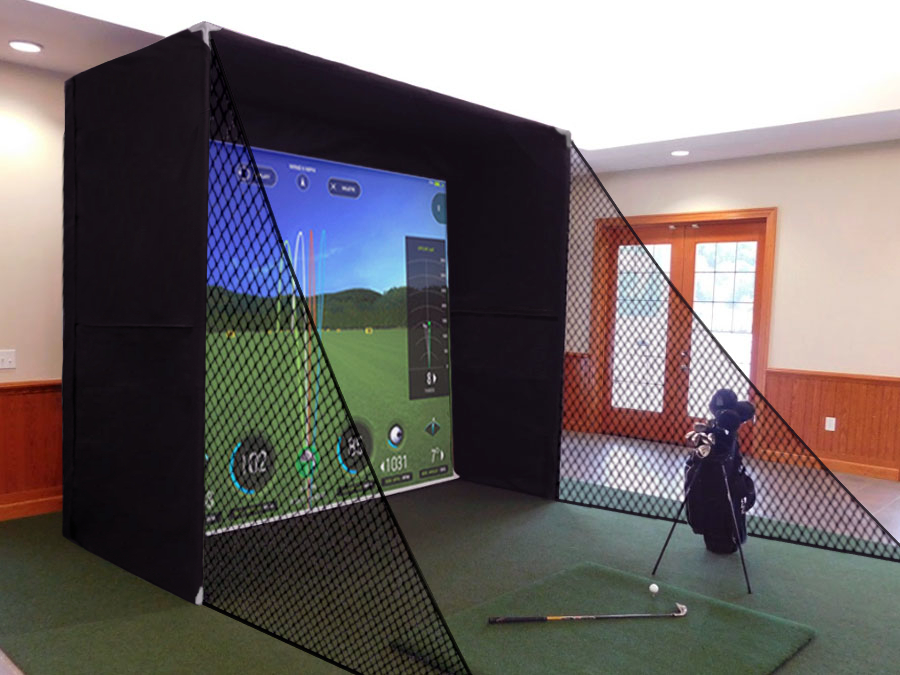
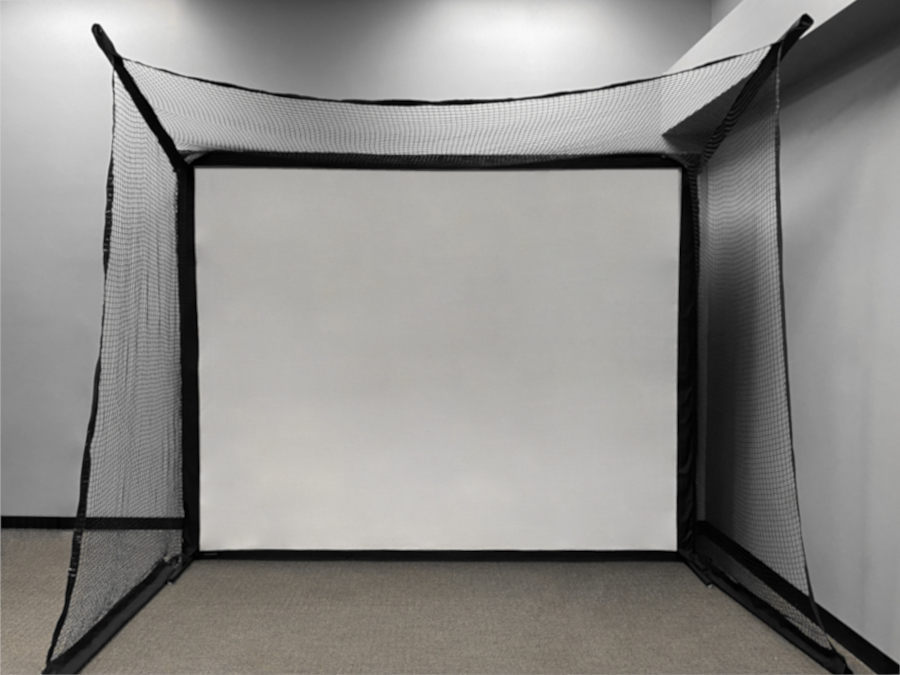
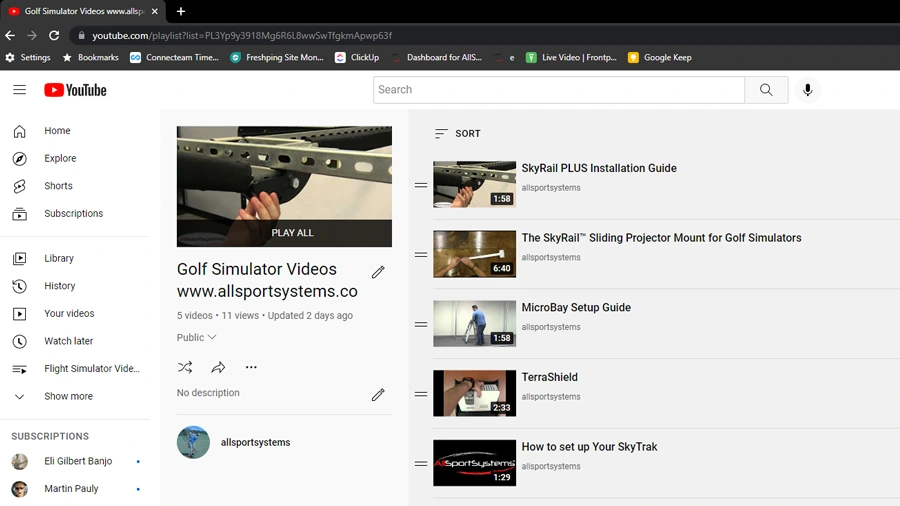
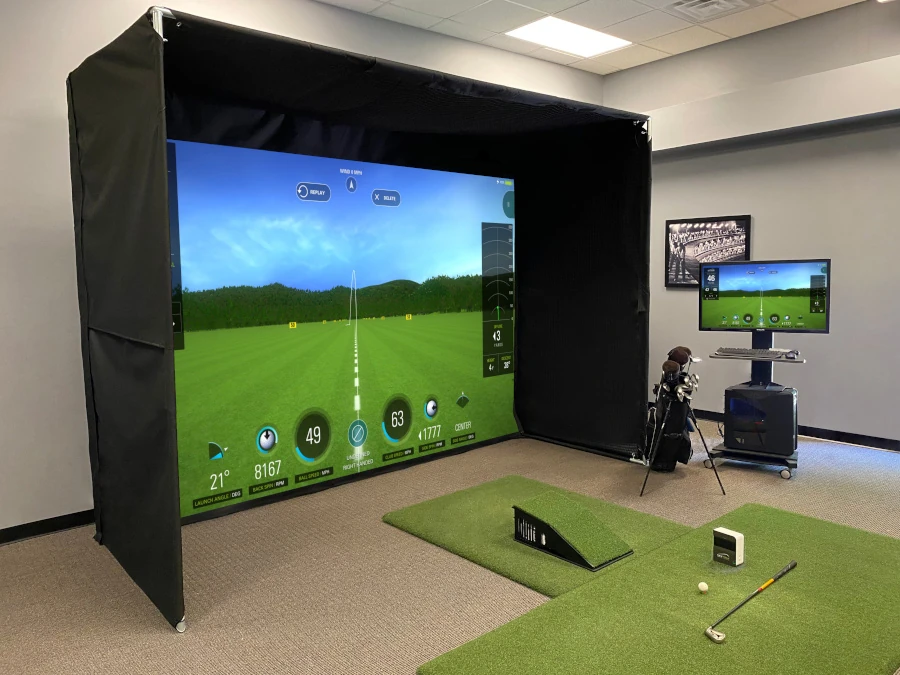
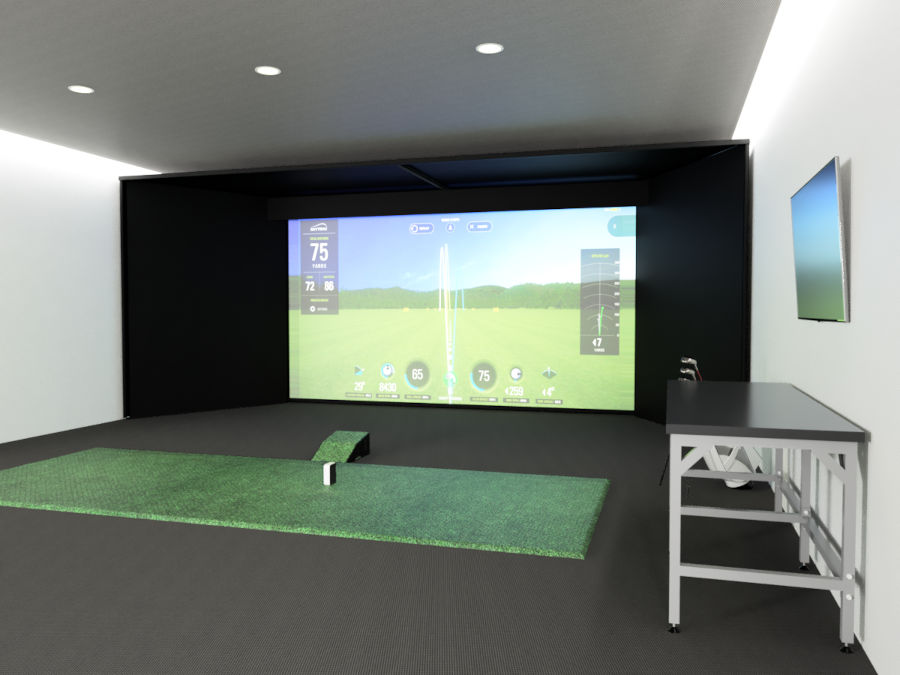
The included pure white golf simulator projector impact screen will allow you to hit real golf balls into a life size video image. You can use the AllSportsystems® DIY low cost golf sim cage and screen system with any golf simulator and an appropriate projector. Custom sizes are no problem! Setup time is about 2 hours. Download the installation guide to see how easy it is to set up!


(Additional fees may apply for material costs.)
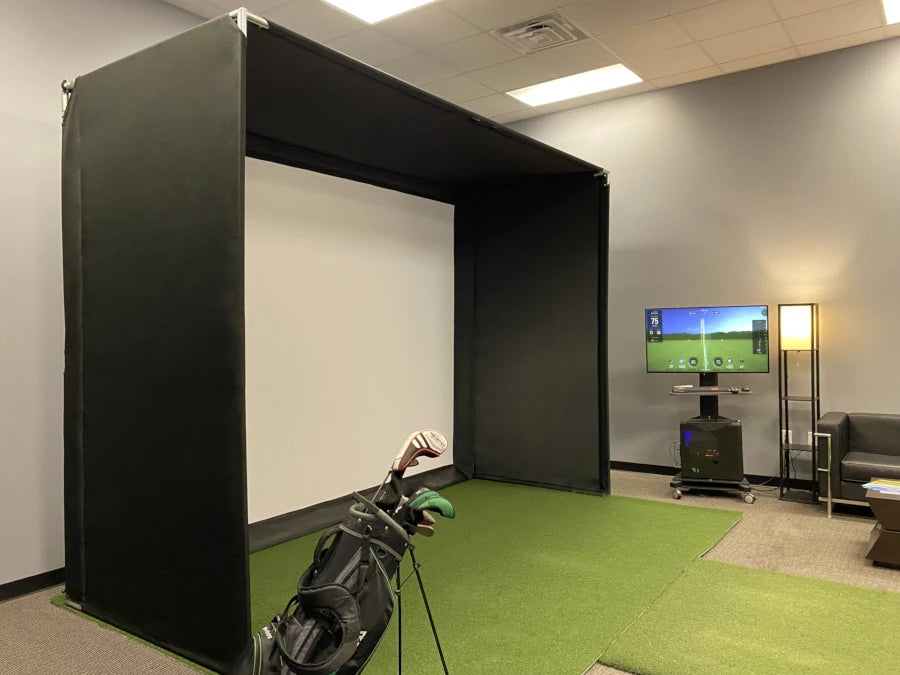
Need a custom size enclosure for your home golf simulator? Since we manufacture the products we sell, customization is never a problem!
| Feature | AllSportSystems® DIY | Carl's DIY |
|---|---|---|
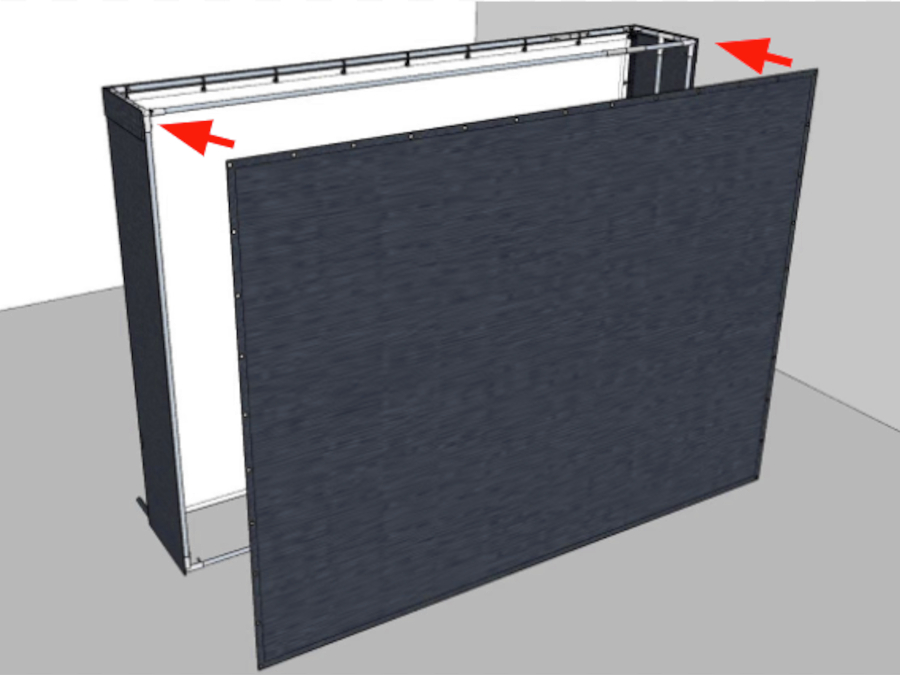
| Single piece Blackout™ wrapper covering top and sides | ✔ | ✔ |
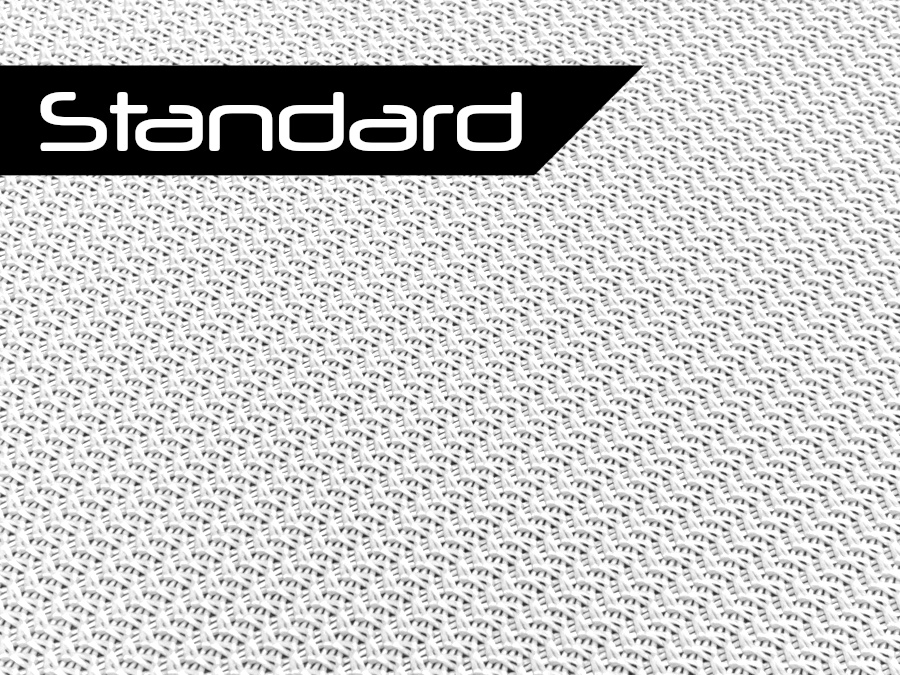
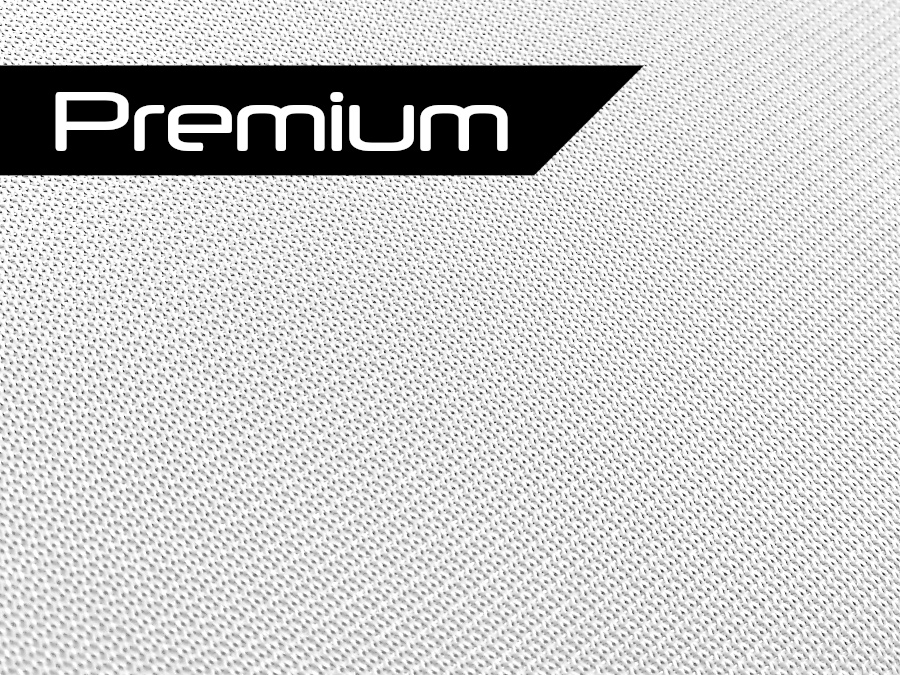
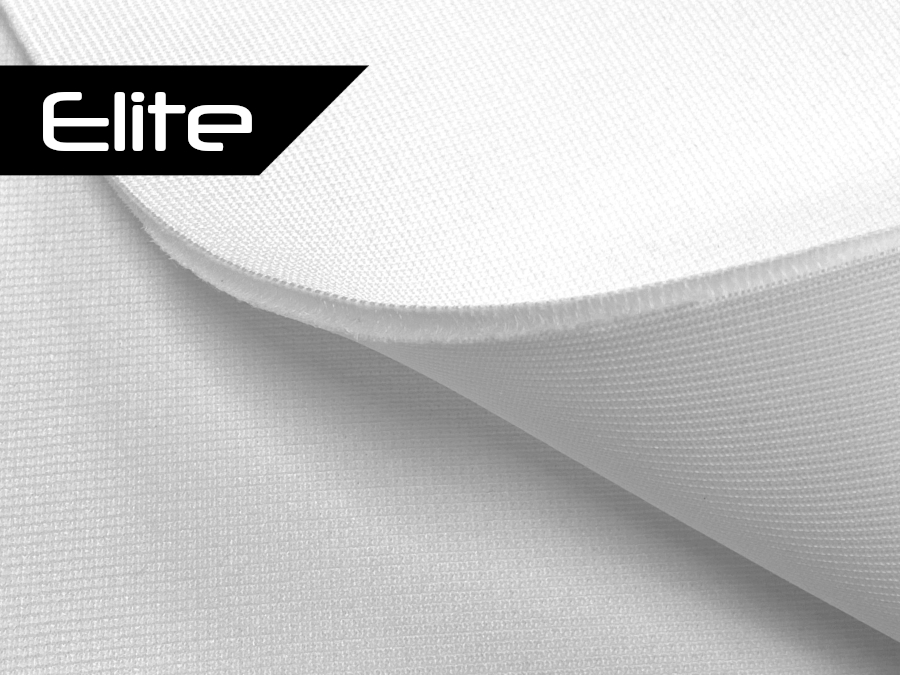
| Three screen quailty choices | ✔ | ✔ |
| Complete blackout coverage on sides (no unsightly gap exposing rear poles, bungees, & screen) | ✔ | ✘ |
| Multiple foam insert options | ✔ | ✘ |
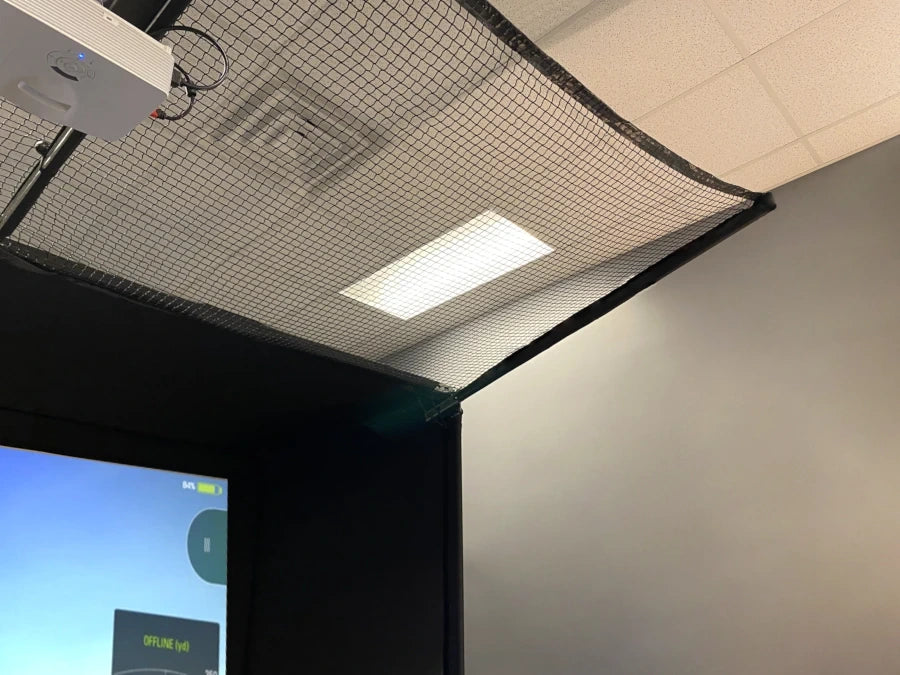
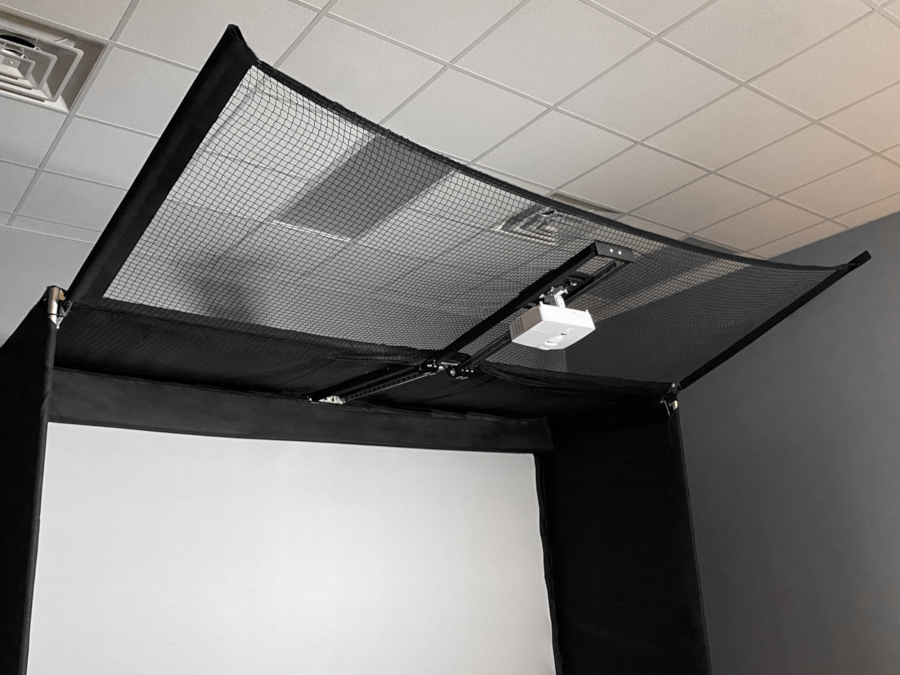
| Cage attached safety netting options for both top and sides | ✔ | ✘ |
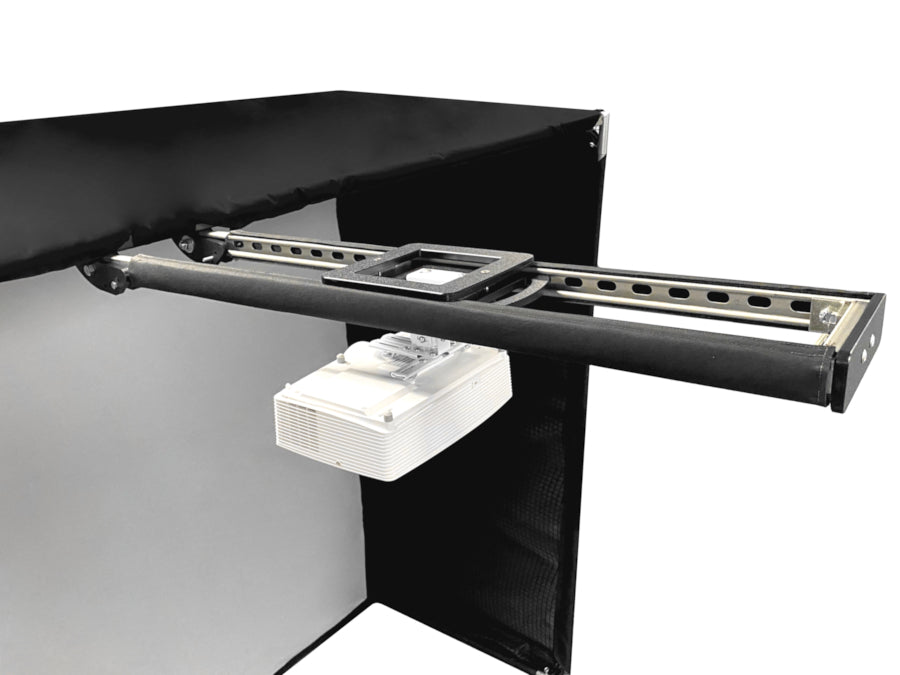
| SkyRailPLUS™ cage attached projector mount option | ✔ | ✘ |
| Replaceable Black Foam Sleeves | ✔ | ✘ |
Since golf hitting screens are fabric products, they will naturally wear over time. Factors such as swing speed, ball type, hitting position, and frequency of use will each affect the life of the screen. Many customers are able to get years of service out of our golf screens, while some may need to replace their screen sooner.
To extend the life of your golf impact screen we recommend using a baffle net, increasing the hitting distance, and using only newer "unscuffed" golf balls. The use of lighter weight products such as "Almost" Golf Balls (1/3 weight) can also significantly extend the life of your golf screen, although the shot distances will typically be shorter than when using real golf balls.
Yes, in many cases our enclosures have a viewport that matches perfectly or near perfectly one of the three common aspect ratios commonly available on projectors. See the chart below showing the best image fit for each of our hitting enclosures.
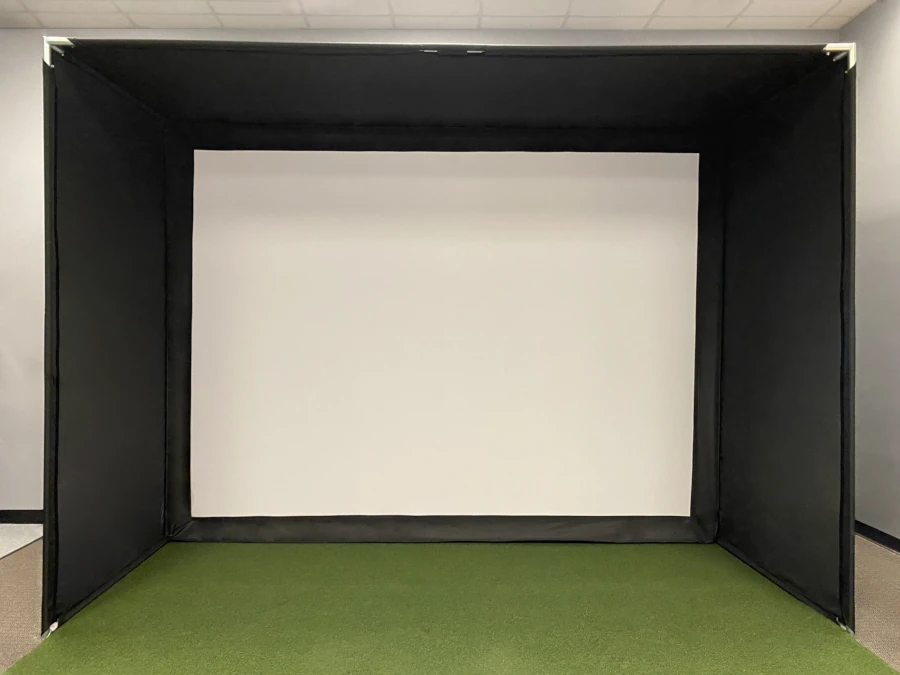
The viewport refers to the white portion of the screen that is visible after installation. We give careful consideration to the size of our golf hitting enclosures and the resulting viewport of your screen. Enclosures designed by AllSportSystems maintain a balance between a good image fit and enclosure size. For best overall function, safety and swing clearance an enclosure height of 9ft or more is recommended. When a space is less than 9ft we suggest an enclosure no lower than 8ft tall.
In general projectors will have a native aspect ratio of 4:3, 16:9 or 16:10. Aspect ratio is a means of expressing the ratio of width to height of the image in terms of pixels. A typical 4:3 resolution is 1024x768 where as a typical HD resolution is 1920x1080 (16:9) or 1280x800 (16:10). For the best image quality, we recommend using the native resolution of your projector where possible. All golf hitting enclosures from AllSportSystems can be customized to any height, width or depth. Do not hesitate to reach out with any questions about customizing your enclosure.
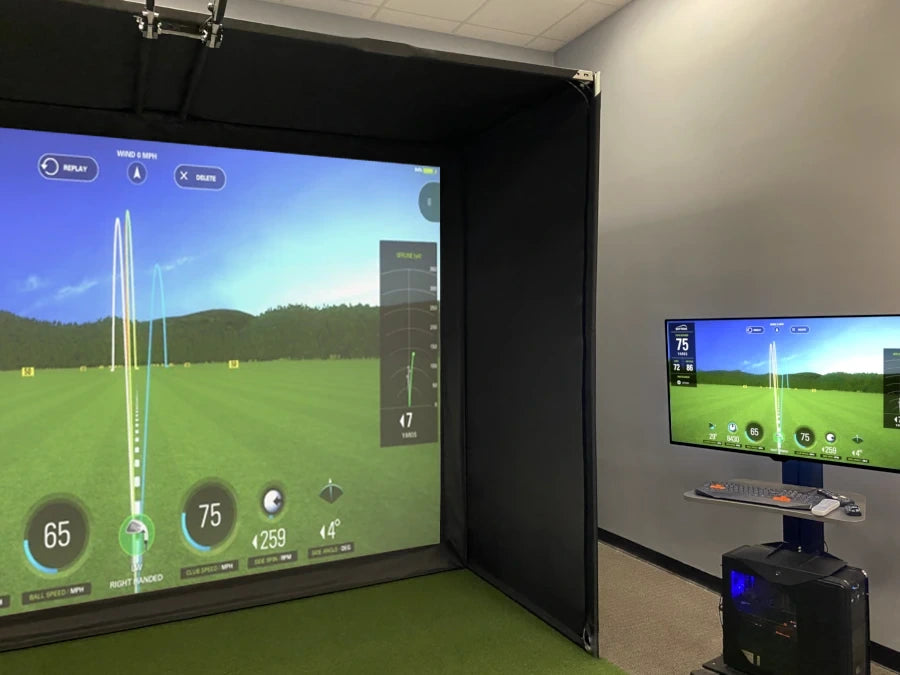
Each projector model will have a specific throw ratio. A throw ratio is an expression of image width in feet divided by distance from the screen in feet. For example a projector with a 0.5 throw ratio can produce a 10ft wide image from 5 feet. For Golf simulation we recommend short throw projectors with a throw ratio of 0.5 to 0.7 as they place the projector close enough to the screen so that the golfer will not block the image. We have listed on the chart below the throw distance for the Short-throw HD 16:9 1080x1024 3800 lumen projector we offer. This projector has a 0.5 throw ratio in the native HD 16:9 aspect and a 0.66 throw ratio in the standard definition 4:3 aspect.
Throw distance from the screen can be calulated for other projectors using online projector throw calculators for your projector model.
All of our golf enclosures are listed according to the outside dimensions of the frame. This guarantees your enclosure will comfortably fit within the space you have designated for your simulator. When deciding what size enclosure to order note that the side and top netting extensions require at least 12″ clearance from walls, ceilings, or other objects.
Screen size and viewport of the screen varies by product. The viewport refers to the white portion of the screen that is visible after installation. See the chart below showing viewport and recommended image aspect for the MicroBay™, SuperBay™, DIY Bay™ and StudioBay™ golf simulator enclosures.
Projector distance shown in this chart is based on the Short-throw HD 16:9 1080x1024 3800 lumen projector we offer.
| Image sizes for MicroBay™, SuperBay™, DIY Bay™, and StudioBay™ golf simulation enclosures. | ||||
|---|---|---|---|---|
| MicroBay™ | Viewport | Best Image Fit | Alternative Option: | |
| 10'-0" W x 8'-0" H | 9'-4" W x 7'-5" H | 9'-4" W x 7'-0" H (4:3 aspect) ✔ Letterbox 2" top/bottom of viewport 📏 Projector 6'2" from screen |
- | |
| 12'-0" W x 9'-0" H | 11'-4" W x 8'-5" H | 11'-2" W x 8'-5" H (4:3 aspect) ✔ Perfect Fit 📏 Projector 7'6" from screen |
11'-4" W x 6'-4" H (HD 16:9 aspect) Letterbox 12" top/bottom of viewport 📏 Projector 5'8" from screen |
|
| 14'-0" W x 9'-0" H | 13'-4" W x 8'-5" H | 13'-4" W x 8'-4" H (HD 16:10 aspect) ✔ Perfect Fit |
13'-4" W x 7'-6" H (HD 16:9 aspect) Letterbox 6" top/bottom of viewport 📏 Projector 6'8" from screen |
|
| 16'-0" W x 9'-0" H | 15'-4" W x 8'-5" H | 14'-11" W x 8'-5" H (HD 16:9 aspect) ✔ Letterbox 2" left/right of viewport 📏 Projector 7'6" from screen |
- | |
| SuperBay™ | Viewport | Best Image Fit | Alternative Option: | |
| 10'-0" W x 8'-0" H | 9'-4" W x 7'-0" H | 9'-4" W x 7'-0" H (4:3 aspect) ✔ Perfect Fit 📏 Projector 6'2" from screen |
- | |
| 10'-0" W x 9'-0" H | 9'-4" W x 8'-0" H | 9'-4" W x 7'-0" H (4:3 aspect) ✔ Letterbox 6" top/bottom of viewport 📏 Projector 6'2" from screen |
- | |
| 12'-0" W x 9'-0" H | 11'-4" W x 8'-0" H | 10'-7" W x 8'-0" H (4:3 aspect) ✔ Letterbox 4" left/right of viewport 📏 Projector 7'1" from screen |
11'-4" W x 6'-4" H (HD 16:9 aspect) Letterbox 9" top/bottom of viewport 📏 Projector 5'8" from screen |
|
| 14'-0" W x 9'-0" H | 13'-4" W x 8'-0" H | 13'-4" W x 7'-6" H (HD 16:9 aspect) ✔ Letterbox 3" top/bottom of viewport 📏 Projector 6'8" from screen |
12'-9" W x 8'-0" H (HD 16:10 aspect) Letterbox 3" left/right of viewport |
|
| 16'-0" W x 9'-0" H | 15'-4" W x 8'-0" H | 14'-2" W x 8'-0" H (HD 16:9 aspect) ✔ Letterbox 7" left/right of viewport 📏 Projector 7'1" from screen |
- | |
| DIY Bay™ | Viewport | Best Image Fit | Alternative Option: | |
| 10'-0" W x 8'-0" H | 9'-0" W x 7'-0" H | 9'-0" W x 6'-9" H (4:3 aspect) ✔ Perfect Fit 📏 Projector 6'0" from screen |
- | |
| 10'-0" W x 9'-0" H | 9'-0" W x 8'-0" H | 9'-0" W x 6'-9" H (4:3 aspect) ✔ Letterbox 7" top/bottom of viewport 📏 Projector 6'0" from screen |
- | |
| 12'-0" W x 9'-0" H | 11'-0" W x 8'-0" H | 10'-7" W x 8'-0" H (4:3 aspect) ✔ Letterbox 2" left/right of viewport 📏 Projector 7'1" from screen |
11'-0" W x 6'-2" H (HD 16:9 aspect) Letterbox 10" top/bottom of viewport 📏 Projector 5'6" from screen |
|
| 14'-0" W x 9'-0" H | 13'-0" W x 8'-0" H | 12'-9" W x 8'-0" H (HD 16:10 aspect) ✔ Perfect Fit |
13'-0" W x 7'-3" H (HD 16:9 aspect) ✔ Letterbox 3" top/bottom of viewport 📏 Projector 6'6" from screen |
|
| 16'-0" W x 9'-0" H | 15'-0" W x 8'-0" H | 14'-2" W x 8'-0" H (HD 16:9 aspect) ✔ Letterbox 4" left/right of viewport 📏 Projector 7'1" from screen |
- | |
| StudioBay™ | Viewport | Best Image Fit | Alternative Option: | |
| 12'-0" W x 8'-0" H | 8'-0" W x 7'-0" H | 8'-0" W x 6'-0" H (4:3 aspect) ✔ Letterbox 6" top/bottom of viewport 📏 Projector 5'3" from screen |
- | |
| 14'-0" W x 8'-6" H | 10'-0" W x 7'-6" H | 10'-0" W x 7'-6" H (4:3 aspect) ✔ Perfect Fit 📏 Projector 6'8" from screen |
10'-0" W x 5'-7" H (HD 16:9 aspect) Letterbox 10" top/bottom of viewport 📏 Projector 5'0" from screen |
|
| 16'-0" W x 9'-0" H | 12'-0" W x 8'-0" H | 12'-0" W x 7'-6" H (HD 16:10 aspect) ✔ Letterbox 3" top/bottom of viewport |
12'-0" W x 6'-9" H (HD 16:9 aspect) Letterbox 7" top/bottom of viewport 📏 Projector 6'0" from screen |
|
| 18'-0" W x 9'-0" H | 14'-0" W x 8'-0" H | 14'-0" W x 7'-10" H (HD 16:9 aspect) ✔ Perfect Fit 📏 Projector 7'0" from screen |
- | |
| 20'-0" W x 10'-0" H | 16'-0" W x 9'-0" H | 16'-0" W x 9'-0" H (HD 16:9 aspect) ✔ Perfect Fit 📏 Projector 8'0" from screen |
- | |
Projector distance shown in this chart is based on the 16:9 HD (1920x1080) Short-throw 3800 lumen projector we offer.

Copyright© 2005-2024 AllSportSystems® Inc. - All Rights Reserved